Sharing Power BI Reports
There are different methods to share a report in Power BI. There is a basic way to share a report by using the “Share” button. But, there are other methods, too, such as using the workspace, publishing the report to the web, or embedding it in share point and secure embed.
The ultimate aim of creating data insights, visualization, and detailed analysis is to simplify decision-making. But, those who create data insights are not the decision-makers but different people. So, we need to share the ready dashboard or report to the decision-making users.
How to Publish Power BI Reports?
Before we share Power BI reports with the end-users, we first need to “Publish” the desktop version report to the Power BI Services account.
To publish the report, follow the below steps.
Step 1: Open the report which is prepared in Power BI Desktop.
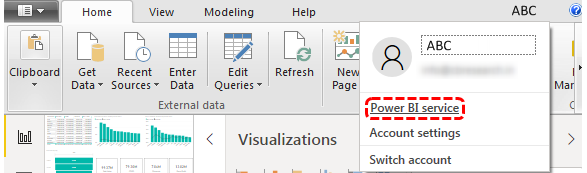
Step 2: After opening the dashboard, go to the “Home” tab and click on the “Publish” option.

Step 3: Log in to Power BI Service Account
If you have already logged into the Power BI account, it will not ask you to log in. Otherwise, you must log in to the Power BI service account with your registered email ID.
Step 4: Select the destination file and click on “Select.”
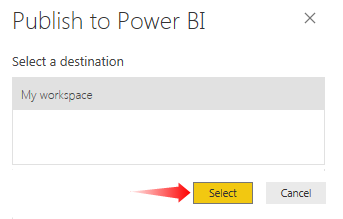
It will take some time to upload. When the report is published to Power BI services, we will get the below confirmation message.
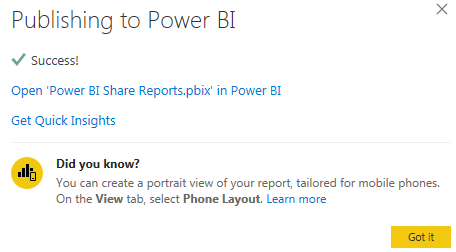
Click on “Got it” to close this window.
Log in to Power BI Services to Share Reports
After publishing, log in to the Power BI services account.
- To log in, click on your username and select the “Power BI service” option from the dashboard.
In Power, BI services account, our published dashboards, and reports, by default, sit under “My workspace.”

Click on “Reports” to see the name of our published report. Click on this to view the report in detail.

How to Share Power BI Reports with Others?
Once the published reports come and sit in “My workspace” from here on, we can share the report. This method is the most common way of sharing the report with other users.
The steps to share Power BI reports are as follows.
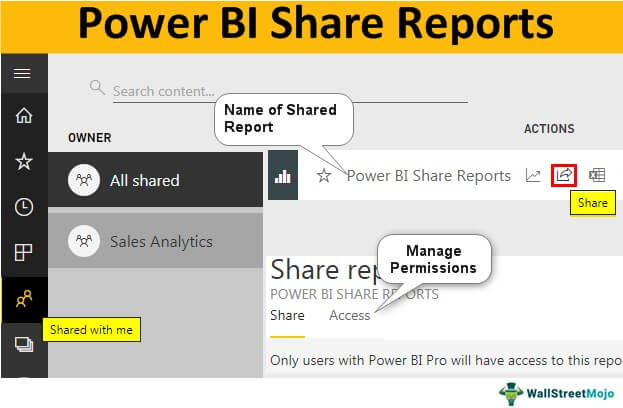
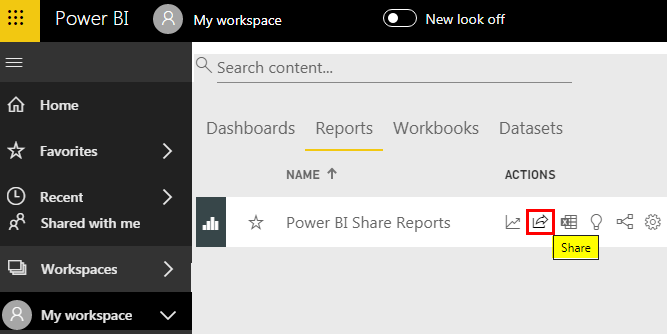
- Go to the “Reports” section. You can see a small “Share” icon appear.
To share the reports with other users, whether your organization uses them or outside, you need aPower BI Pro Licenseto share them with others, not you. The recipient must also havePower BI Pro License.
- Once you click the “Share” button, it will ask you to enter the recipient’s email address and include an options message if required.
Enter the email ID of the targeted person for whom you share the reports.

- After that, we have a few more options to control the share, as shown below.
“Allow recipients to share your report,” “Allow users to build new content using underlying datasets,” and “Send email notification to recipients.” You can select and unselect any of the items based on your requirement.
- Click on the “Share” button to share the report with the entered email address ID.

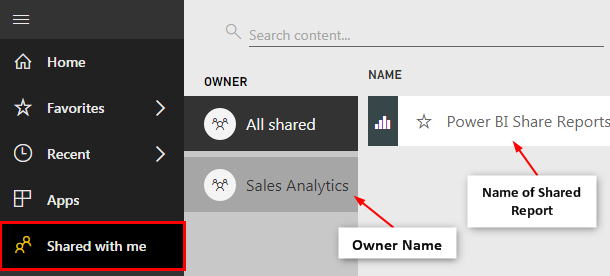
- Now, the recipient needs to log into the Power BI services account (they need to have a Pro license), and they need to click on the “Shared with me” tab, and they can see the owner’s name and the name of the article they have shared.
Now, they can use these shared reports to view and make decisions.
Access Option
While sharing the report, we can also see who has accessed the report under the “Access” tab or share dashboard.
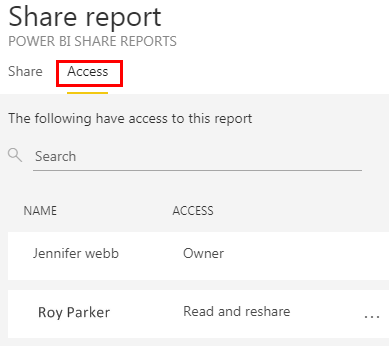
In the same window, we can stop sharing the report and prevent others from sharing the report.
- Under the “Access” tab, click on the ellipsis (three dots).

- We can see two options: “Read” and “Remove access.”
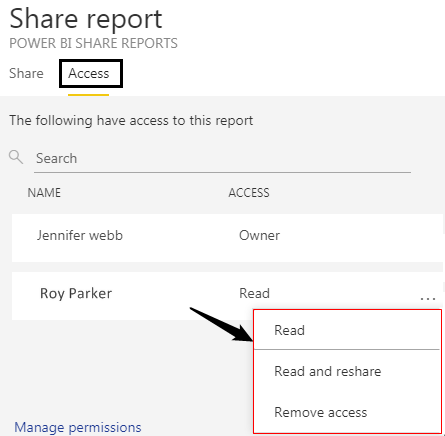
If you choose the option “Read,” other people continue sharing the report with anyone. If you choose the option “Remove access,” it will remove the person’s access.
Advantage and Disadvantages of Sharing Method
- Advantages: This is the most common way of sharing the dashboard or report with the end-users. It is one of the easy and quick ways to distribute the report to multiple users.
- Disadvantages: Although this is a simple method, it has its limitations. With this method, we cannot specify edit access to end-users. It is not a good practice because if the dashboard building is a team environment where one guy has a specific set of tasks, and other guys do a different set of tasks, then it becomes just paper to read. One more disadvantage is we cannot share multiple reports, and dashboards are time.
Things to Remember
- It is the basic sharing method.
- Workspace and the Power BI app are other ways of sharing reports and dashboards.
Recommended Articles
This article is a guide to Power BI Share Reports. Here, we discuss how to share Power BI reports with others and manage permissions with the help of an example. You can learn more from the following articles: –